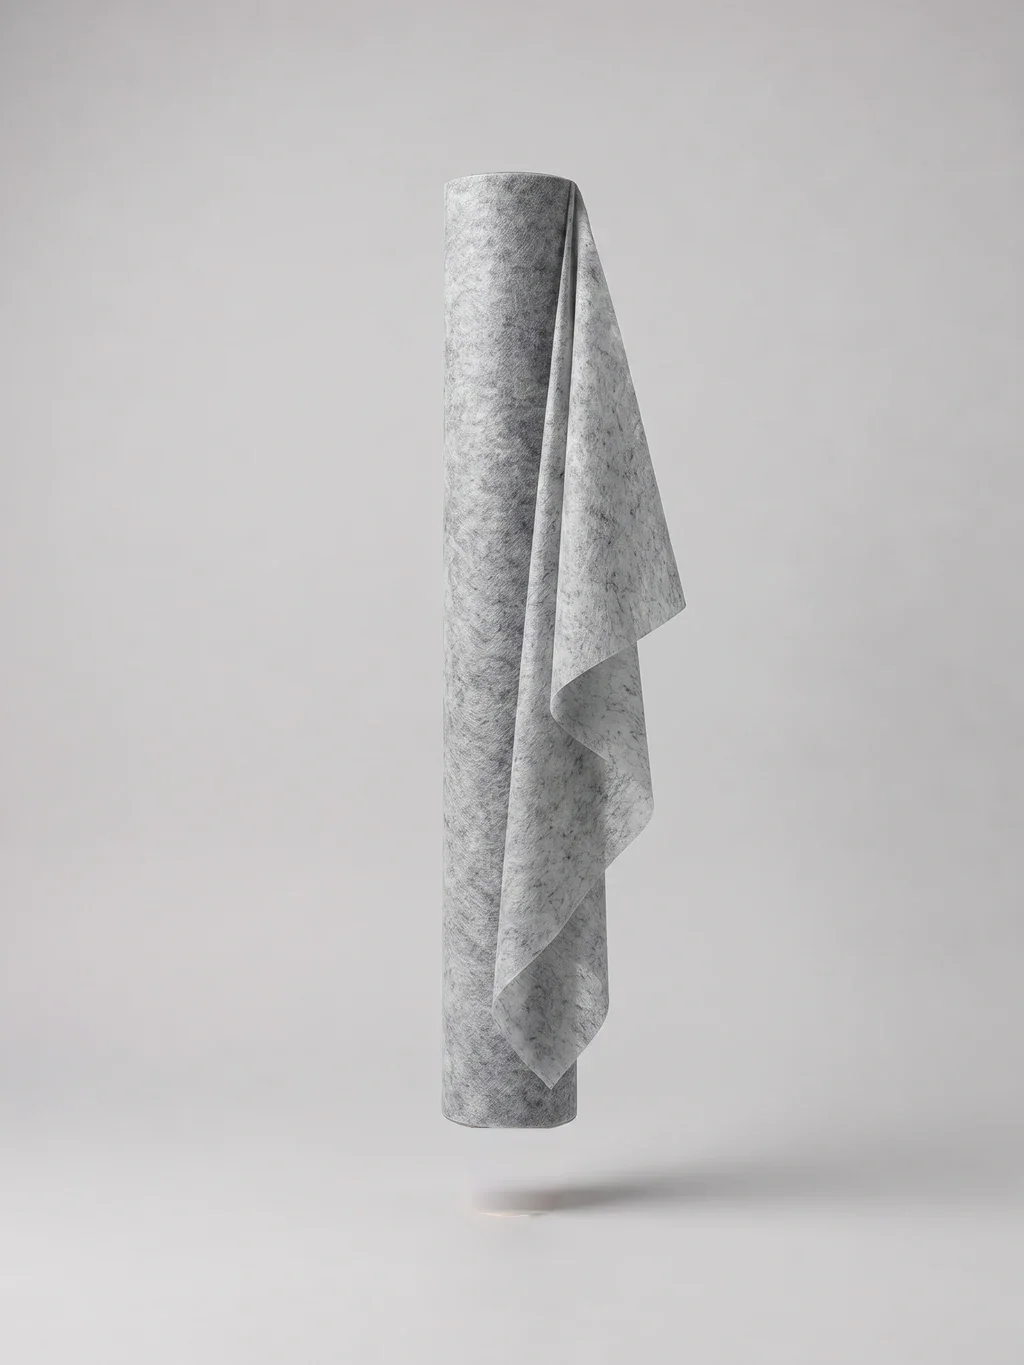
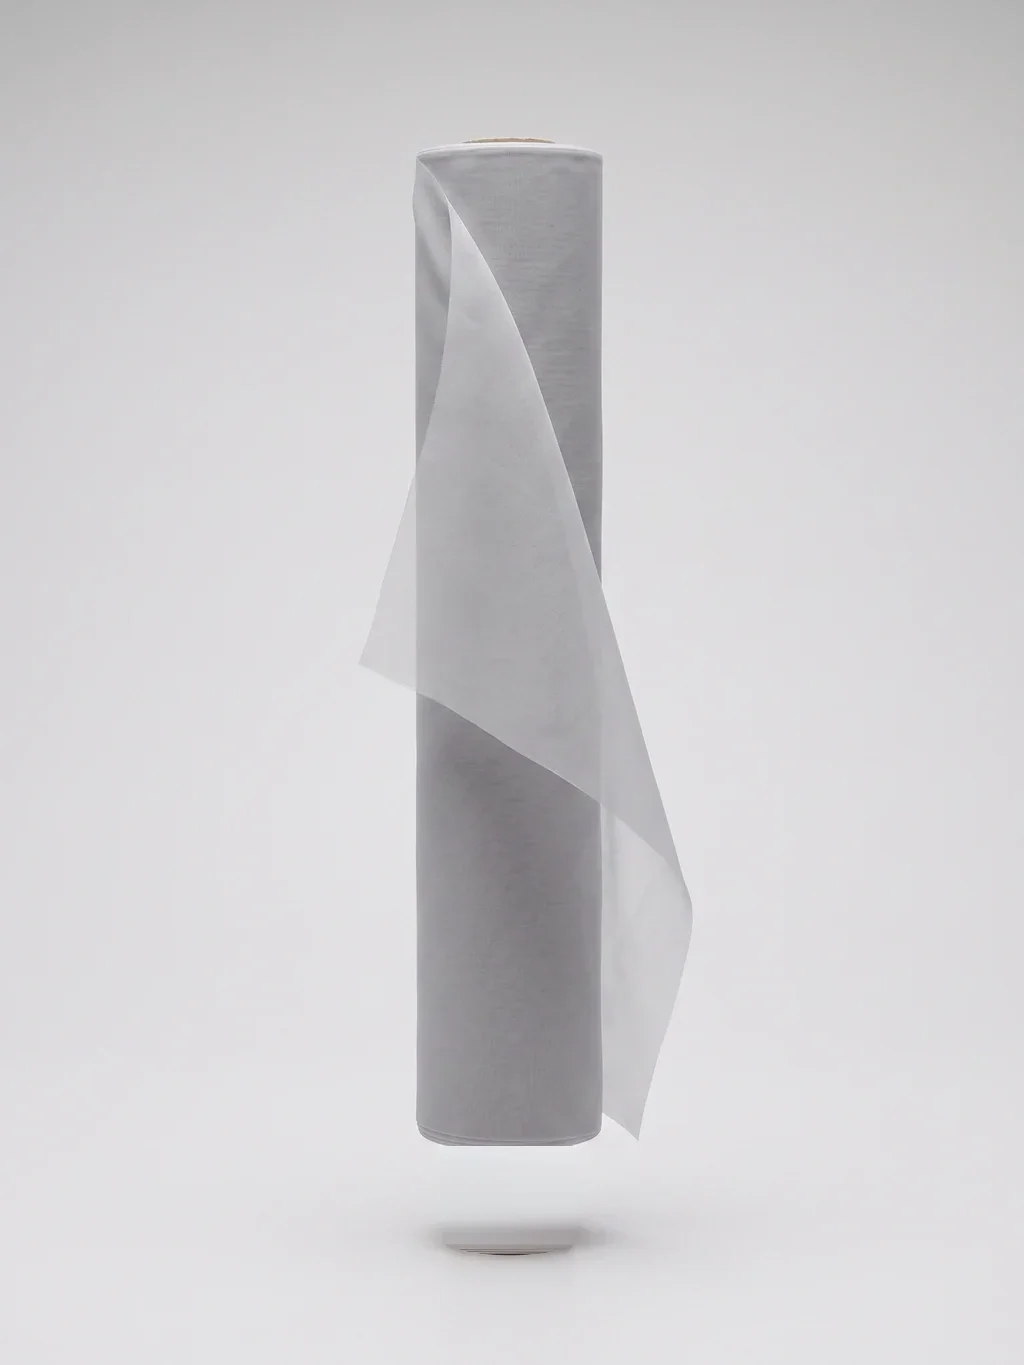
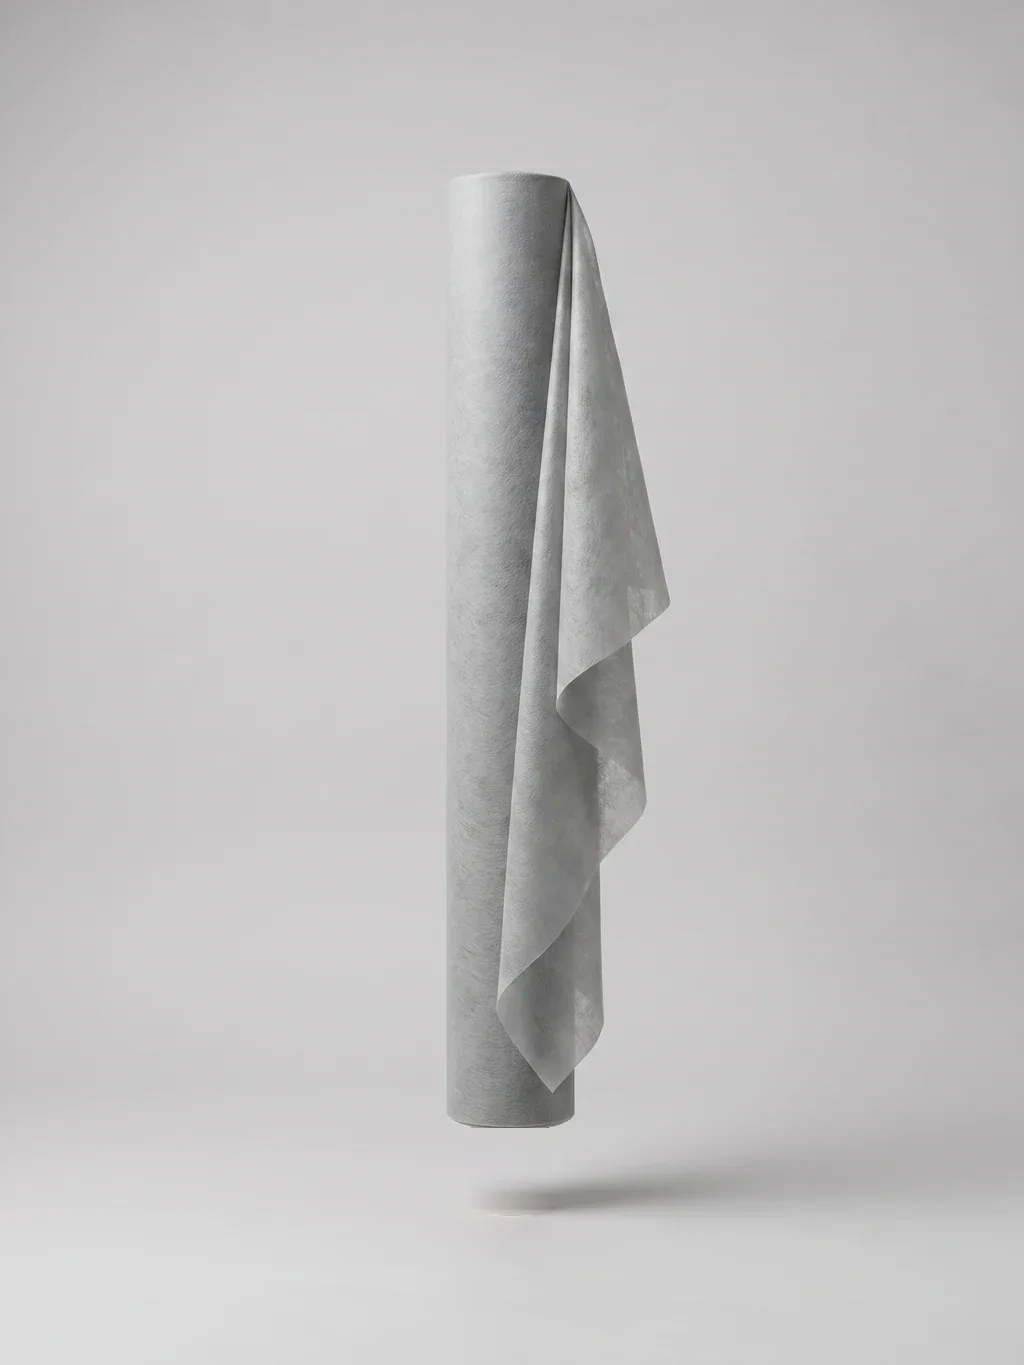
Terfix tape: stabilising a line, not a surface
Terfix is a narrow fusible tape that stabilises cut edges; in 1, 1.5 and 2 cm widths it keeps seam allowances and the shoulder line in place. Here is why holding a single line often beats interlining a whole panel, which width goes where, and the order of application.
UB-TF001 Updated
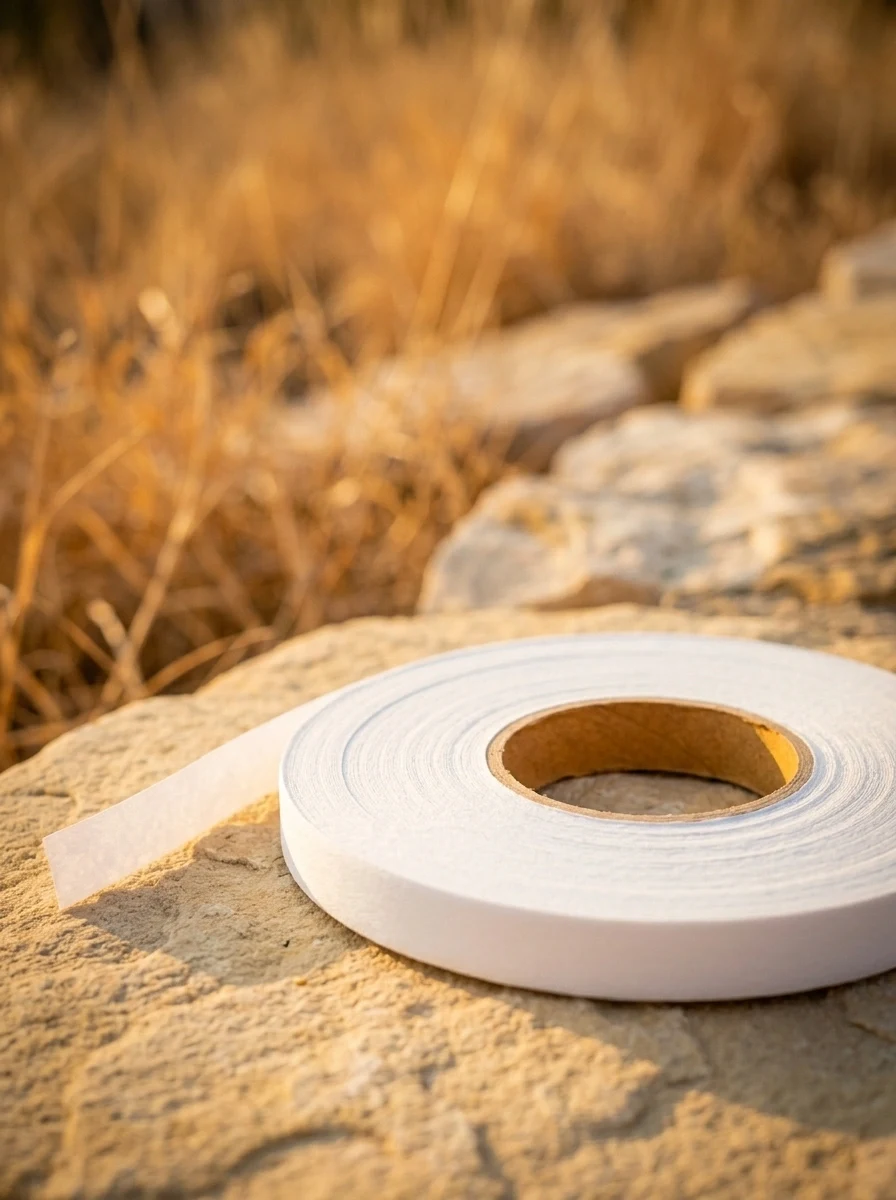
What is Terfix tape?
Terfix is a narrow fusible interlining cut into strips. One face carries adhesive and it is fused to the cloth with an iron or a press. It comes in 1, 1.5 and 2 cm widths.
What separates it from other interlinings is the job description: body interlining supports a surface, Terfix holds a line. They are not rivals — most jackets use both.
In the workshop it is also called stay tape, shoulder tape, or just tape. Whatever the name, the work is the same: stopping the cloth stretching along one particular line.
Why interlining the whole panel is not the answer
Cloth does not stretch at the same rate everywhere. Some lines carry far more load than others, and those are the ones that give first.
The shoulder line is the clearest example. The weight of the garment hangs from the shoulder and that line is pulled constantly. The same goes for the neckline, which is cut on a curve and moves all the time. An edge cut off the straight stretches many times more than one cut on it.
- The shoulder line — the garment hangs from here.
- The neckline — cut on a curve, the line that stretches most.
- The armhole — worked constantly by movement.
- Pocket openings — they gape as hands go in and out.
- Zip edges — if the line does not stay straight, the zip waves.
- Hems — where the fold will not sit cleanly.
Trying to solve all of those with a surface interlining means stiffening the whole garment. Terfix holds only the line, and the rest of the cloth is left alone.
The rule can be put in one sentence: if the problem is on a surface, use interlining; if it is on a line, use tape.
1, 1.5 or 2 cm — which goes where?
Width comes down to two things: the size of the seam allowance and how much load the line carries. The tape has to stay inside the allowance; run past it and it reads from the face of the garment.
| Width | Where | Why |
|---|---|---|
| 1 cm | Fine cloths, necklines, buttonhole edges | Fits a narrow allowance without leaving a mark |
| 1.5 cm | Shoulder lines, armholes, pocket openings | The most used; carries load without stiffening |
| 2 cm | Coat shoulders, heavy cloths, zip edges | Wide allowances and high load |
If you cannot decide, measure your seam allowance and take one step down. A narrow tape can always be corrected — a second strip can go over it. Tape that runs past the allowance cannot.
Straight or on the bias?
This is the detail most often skipped. Which way the tape is laid on the cloth decides how the line will behave.
Laid straight, the tape does not give at all and locks the line completely. That is what you want where nothing should stretch — the shoulder line, a zip edge.
Laid on the bias, the tape can give a little and follow a curve. On curved lines like a neckline or an armhole, a straight tape gathers the cloth; there the tape has to be able to follow the curve. Fusing a straight tape onto a curved line and then wondering why it puckered is a common sight.
A practical check: run a finger along the line. If it runs straight, straight tape. If it curves, the tape has to be able to follow that curve.
The order of application
Terfix goes on after cutting and before sewing. The sequence runs like this:
- Cut the piece and lay it on a flat surface. Taping cloth under tension shortens the line once the cloth relaxes.
- Place the tape inside the seam allowance, right against the stitch line.
- On curves, do not force the tape; if it will not follow the curve, the wrong tape or the wrong direction has been chosen.
- Press down and lift with the iron. Sliding shifts the tape.
- Wait until it is completely cold, then sew.
One point of order matters: if the piece is also going to be fused with body interlining, the surface interlining goes first and the tape second. Done the other way round, the tape ends up under the interlining and cannot hold the line at all.
On fine and sheer cloths
Terfix is particularly useful on fine cloths because, unlike a surface interlining such as chiffon interlining, it does not spread across the face. It stays inside the seam allowance and never touches the visible part of the garment.
- Take the narrowest width, 1 cm.
- Keep the whole tape inside the seam allowance.
- Lower the heat; a fine cloth passes it straight through.
- Stay close to the tone of the cloth — on some fabrics even the seam allowance can be made out from outside.
Common mistakes
- Fusing straight tape to a curved line. The cloth gathers and the line waves.
- Letting the tape run past the seam allowance. It reads from the face.
- Taping cloth that is still under tension. The line shortens once the cloth relaxes.
- Applying the tape before the surface interlining. It ends up underneath and cannot do its job.
- Sliding the iron. The tape shifts and locks the line in the wrong place.
When you order
Widths are 1, 1.5 and 2 cm. Tell us which lines you will be using it on — shoulders, necklines and zip edges can want different widths.
Call about roll length and colour options; on this product the options are discussed against the job.
Most workshops keep two widths on hand: one narrow (1 cm) and one medium (1.5 cm). The third is only needed if you work with heavy cloths.
Samples, stock and delivery are settled on the phone.
Frequently asked questions
What is the difference between Terfix tape and ordinary interlining?
The job description. Body interlining spreads support across a surface; Terfix holds a single line. If the problem is on a surface, use interlining; if it is on a line, use tape. Most jackets use both.
Which width should I choose?
Measure your seam allowance and make sure the tape stays inside it. 1 cm goes on fine cloths and necklines, 1.5 cm on shoulders and armholes (the most common), 2 cm on coat shoulders and heavy cloths. If in doubt, take the narrower one.
I taped a neckline with straight tape and the cloth gathered. Why?
A neckline is a curved line and straight tape will not follow a curve. There the tape has to be able to track the curve. Straight tape belongs on straight lines that must not stretch at all — shoulder lines, zip edges.
Tape first or interlining first?
If the piece is also getting a surface interlining, the interlining goes first and the tape second. The other way round, the tape ends up underneath and cannot hold the line.
Can it be used on fine cloths?
It suits them very well. Because it does not spread across the surface and stays inside the seam allowance, it never touches the visible part of the garment. Take the narrowest width and lower the heat.